
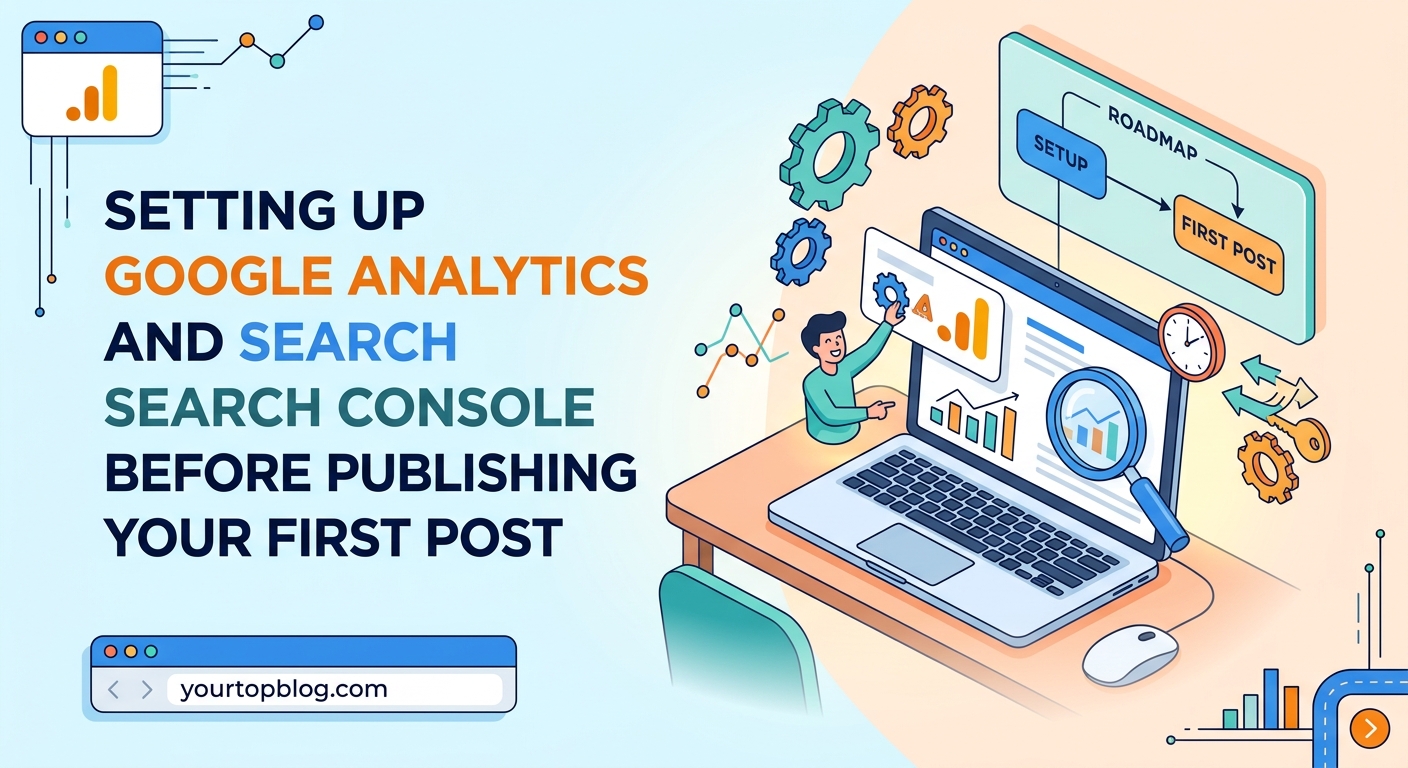
You’re about to hit publish on your first blog post. You’ve spent weeks perfecting your content, choosing the right theme, and setting up your site. But there’s a problem most new bloggers face: they launch without any way to track their traffic or understand how Google sees their site.
Setting up analytics and search tools before you publish is like turning on the lights before walking into a dark room. You need to see where you’re going.
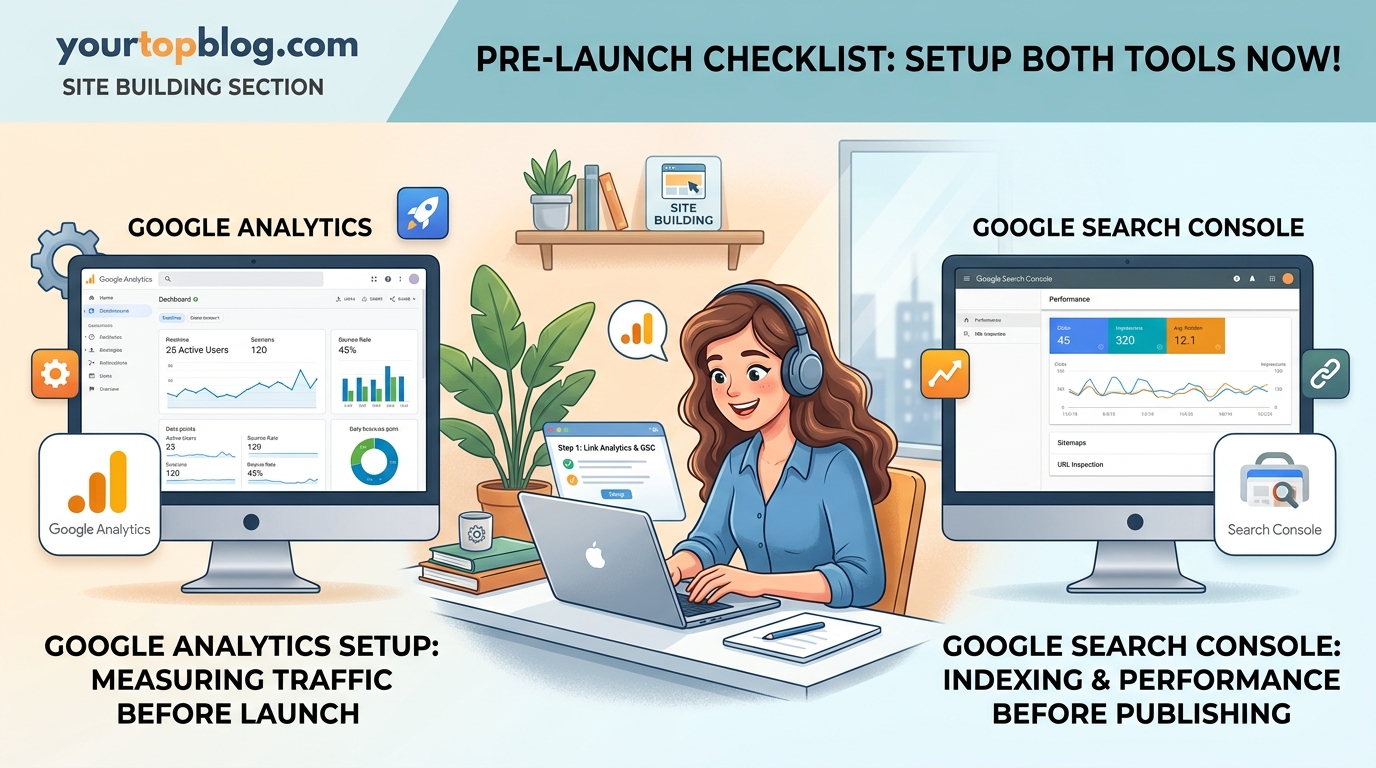
Google Analytics tracks who visits your site, where they come from, and what they do. Google Search Console shows how your site appears in search results and alerts you to technical issues. Installing both tools before publishing ensures you capture data from day one, giving you the insights needed to grow traffic, improve content, and eventually monetize your blog through ads, affiliates, or premium content.
Why You Need Both Tools From Day One
Google Analytics and Google Search Console serve different purposes.
Analytics tells you what happens on your site. It tracks visitor numbers, page views, session duration, and bounce rates. You’ll see which content keeps people reading and which pages make them leave immediately.
Search Console focuses on how Google interacts with your site. It shows which keywords bring visitors from search results, identifies crawling errors, and alerts you when Google can’t index your pages properly.
Most bloggers install Analytics first because they want to see visitor numbers. That makes sense. But Search Console matters just as much, especially if you plan to rank in Google and drive organic traffic.
Here’s what happens when you skip these tools:
- You publish 20 posts without knowing which topics resonate with readers
- You miss technical errors that prevent Google from indexing your best content
- You can’t prove traffic growth when applying for ad networks like AdSense
- You waste months creating content that nobody searches for
Installing both tools takes about 30 minutes. The data you collect from day one becomes invaluable six months later when you’re ready to scale.
Setting Up Google Analytics Step by Step
Google Analytics 4 (GA4) is the current version. The older Universal Analytics stopped collecting data in 2023, so you’ll be working with GA4 regardless of when you start.
1. Create Your Google Analytics Account
Visit the Google Analytics website and sign in with your Google account.
Click “Start measuring” and fill in your account details:
- Account name: Use your blog name or your business name
- Data sharing settings: Leave the recommended options checked unless you have privacy concerns
Click “Next” and create a property:
- Property name: Your website name
- Reporting time zone: Choose your local time zone
- Currency: Select your preferred currency for future revenue tracking
2. Configure Your Data Stream
GA4 uses “data streams” to collect information. For a blog, you’ll set up a web data stream.
Click “Web” as your platform type.
Enter your website URL. Include “https://” and your full domain name. Don’t add trailing slashes or specific page paths.
Name your stream. Most people use “Website Traffic” or their domain name.
Enhanced measurement should be enabled by default. This automatically tracks:
- Page views
- Scrolls
- Outbound clicks
- Site search
- Video engagement
- File downloads
Click “Create stream” and you’ll see your Measurement ID. It starts with “G-” followed by a string of letters and numbers. You’ll need this in a moment.
3. Install the Tracking Code on Your Website
If you’re using WordPress, the easiest method is a plugin.
Install and activate the “Site Kit by Google” plugin. This official Google plugin connects Analytics, Search Console, and AdSense in one place.
After activation, go to Site Kit settings and connect your Google account. Grant the requested permissions.
Select your Analytics property from the dropdown menu. The plugin automatically adds the tracking code to every page on your site.
Alternative method without plugins:
Copy your Measurement ID from the GA4 data stream page. In your WordPress theme settings, look for a “Header Scripts” or “Custom Code” section. Paste this code, replacing YOUR_MEASUREMENT_ID with your actual ID:
Save your changes and visit your website. Open GA4 in another tab and check the “Realtime” report. You should see yourself as an active user within 30 seconds.
4. Exclude Your Own Traffic
New bloggers often forget this step and wonder why their traffic numbers look inflated.
GA4 offers internal traffic filtering. Go to Admin > Data Streams > Select your stream > Configure tag settings > Show more > Define internal traffic.
Click “Create” and add a rule:
- Rule name: “My IP Address”
- IP address match type: Choose “IP address equals”
- Value: Enter your home IP address (search “what is my IP” in Google)
Save the rule. Then go to Admin > Data Settings > Data Filters. You’ll see your internal traffic rule. Change it from “Testing” to “Active.”
This prevents your own visits from skewing your data.
Setting Up Google Search Console Step by Step
Search Console requires you to verify ownership of your domain. There are several verification methods, but DNS verification is the most reliable for bloggers.
1. Add Your Property
Visit Google Search Console and sign in with the same Google account you used for Analytics.
Click “Add Property” and choose between domain property and URL prefix property.
Domain property covers all subdomains and protocols (http, https, www, non-www). This is the better choice for most bloggers.
URL prefix property tracks only the exact URL you specify. Choose this if you only want to track a specific subdomain or protocol.
For beginners, select “Domain” and enter your domain without “https://” or “www.” Just type “yourblog.com.”
2. Verify Ownership via DNS
Search Console will show you a TXT record. It looks like a random string of characters starting with “google-site-verification=”.
Copy this TXT record.
Log in to your domain registrar (where you bought your domain: Namecheap, GoDaddy, Cloudflare, etc.).
Find the DNS settings section. The exact location varies by provider, but look for “DNS Management,” “DNS Records,” or “Advanced DNS.”
Add a new TXT record:
- Host/Name: @ (or leave blank, depending on your registrar)
- Value/Content: Paste the verification code from Search Console
- TTL: Use the default value (usually 3600 or Auto)
Save the DNS record.
Return to Search Console and click “Verify.” DNS changes can take a few minutes to propagate, so don’t panic if verification fails immediately. Wait 10 minutes and try again.
Alternative verification methods:
- HTML file upload: Download a verification file and upload it to your site’s root directory via FTP
- HTML tag: Add a meta tag to your site’s header (Site Kit plugin handles this automatically)
- Google Analytics: If you’ve already installed GA4, Search Console can verify through that connection
3. Submit Your Sitemap
A sitemap is an XML file that lists all the pages on your website. It helps Google find and index your content faster.
Most WordPress SEO plugins (Yoast, Rank Math, All in One SEO) automatically generate sitemaps.
If you’re using Yoast, your sitemap URL is typically: yourblog.com/sitemap_index.xml
For Rank Math: yourblog.com/sitemap_index.xml
For All in One SEO: yourblog.com/sitemap.xml
Copy your sitemap URL. In Search Console, go to Sitemaps (in the left sidebar). Paste your sitemap URL in the “Add a new sitemap” field and click “Submit.”
Google will start crawling your sitemap. Initial processing takes a few hours to a few days. You’ll see “Success” status once Google has read your sitemap.
4. Check Initial Reports
Search Console won’t show much data immediately. It needs time to collect information about your site’s search performance.
But you can check the Coverage report (now called “Page Indexing” in newer interfaces) to see if Google has discovered your pages.
Go to Indexing > Pages. You’ll see:
- How many pages Google has indexed
- Any pages with errors or warnings
- Pages excluded from indexing and why
Common exclusion reasons for new sites:
- “Discovered – currently not indexed”: Google found your page but hasn’t indexed it yet
- “Crawled – currently not indexed”: Google visited your page but decided not to index it (usually due to low quality or duplicate content)
- “Excluded by ‘noindex’ tag”: You’ve told Google not to index the page (check your SEO plugin settings)
Don’t worry if you see zero indexed pages on day one. Google takes time to crawl new websites. Focus on creating great content and the indexing will follow.
Connecting Analytics and Search Console
Linking these two tools gives you richer data. You’ll see search query information inside Analytics and understand how organic search visitors behave on your site.
In Google Analytics, go to Admin > Product Links > Search Console Links.
Click “Link” and choose your Search Console property from the list.
Select which Analytics data stream to connect (you should only have one).
Submit the link and confirm.
Now you can see Search Console data inside Analytics under Reports > Acquisition > Search Console.
Common Setup Mistakes to Avoid
| Mistake | Why It Hurts | How to Fix |
|---|---|---|
| Installing tracking code twice | Doubles your traffic numbers and breaks conversion tracking | Check your theme files and plugins for duplicate code |
| Not filtering internal traffic | Your own visits inflate metrics and skew data | Add IP filtering in GA4 data settings |
| Verifying wrong domain version | Data splits between www and non-www versions | Use domain property in Search Console, not URL prefix |
| Ignoring mobile tracking | Mobile visitors account for 60%+ of blog traffic | Test tracking on your phone after installation |
| Skipping sitemap submission | Google takes longer to find and index your content | Submit XML sitemap through Search Console |
| Forgetting to enable enhanced measurement | Misses scroll tracking, outbound clicks, and engagement data | Enable in GA4 data stream settings |
What Data to Watch in Your First Month
You won’t have enough traffic in week one to draw meaningful conclusions. But you should monitor these metrics to ensure everything works correctly:
In Google Analytics:
- Realtime users: Confirms tracking is active
- Pages per session: Shows if visitors read multiple posts
- Average session duration: Indicates content quality
- Traffic sources: Reveals where visitors come from
In Google Search Console:
- Total impressions: How often your site appears in search results
- Average position: Where your pages rank for various queries
- Click-through rate: Percentage of people who see your listing and click it
- Coverage/indexing status: Confirms Google can access your pages
Most new blogs see single-digit daily visitors for the first month. That’s normal. The goal right now is collecting baseline data, not hitting traffic milestones.
“The best time to install analytics was the day you launched your site. The second best time is today. Every day without tracking is lost data you can never recover.” – Anonymous blogger who learned this lesson the hard way
Setting Up Goals and Conversions
Once your tracking works, configure goals to measure what matters for your blog’s growth.
In GA4, goals are called “conversions.” You can track:
- Email signups
- Affiliate link clicks
- PDF downloads
- Video plays
- Contact form submissions
Go to Admin > Events > Create Event. GA4’s interface for custom events is more complex than the old Analytics, so many bloggers use Google Tag Manager for advanced tracking.
For beginners, focus on these automatically tracked events:
- page_view: Someone loads a page
- scroll: Someone scrolls 90% down a page
- click: Someone clicks an outbound link
- file_download: Someone downloads a file
Mark important events as conversions by toggling the “Mark as conversion” switch in the Events list.
This data becomes critical when you start monetizing. If you’re planning to run ads through networks covered in guides about getting approved for Google AdSense, you’ll need to prove your traffic is real and engaged.
Tracking Content Performance From Day One
The real power of Analytics and Search Console emerges when you start publishing regularly.
After publishing 5-10 posts, check which content performs best:
In Analytics:
Go to Reports > Engagement > Pages and screens. Sort by views to see your most popular content. Look for patterns. Are tutorials outperforming opinion pieces? Are list posts getting more engagement than case studies?
In Search Console:
Go to Performance > Search results. Filter by page to see which posts rank for the most keywords. Click into individual pages to see exact search queries bringing traffic.
This data tells you what to write more of. If your post about finding profitable keywords gets 10x more traffic than other topics, that’s a signal to create more keyword research content. You might even reference resources like how to find low competition keywords that actually drive traffic to expand that content cluster.
Troubleshooting Common Issues
Analytics shows zero traffic despite visitors:
- Check if your tracking code is actually on the page (view page source and search for your Measurement ID)
- Verify you haven’t accidentally added your domain to the referral exclusion list
- Confirm you’re looking at the right date range and property
- Clear your browser cache and disable ad blockers, then test again
Search Console says “Property not verified”:
- DNS changes can take up to 48 hours to propagate fully
- Some registrars require you to remove the default TXT records before adding new ones
- Try the HTML tag verification method as a backup
- Check that you entered the TXT record in the correct field (not CNAME or A record)
Sitemap shows errors:
- Make sure your SEO plugin is active and configured
- Check that your sitemap URL is actually accessible (visit it in a browser)
- Some hosts block XML files by default; contact support if your sitemap returns a 404 error
- Exclude admin pages, login pages, and tag pages from your sitemap
Data doesn’t match between Analytics and Search Console:
- These tools measure different things; exact numbers will never match
- Analytics tracks all traffic sources; Search Console only tracks organic search
- Analytics counts sessions; Search Console counts clicks
- Time zone differences can create discrepancies in daily reports
Privacy Compliance and Cookie Notices
If you have visitors from the European Union, you need to comply with GDPR. For California visitors, CCPA applies.
Both laws require you to:
- Disclose what data you collect
- Explain how you use that data
- Provide a way for users to opt out
- Get consent before setting cookies (in the EU)
Add a privacy policy page to your site. WordPress has a privacy policy generator under Settings > Privacy. Customize it to mention Google Analytics and Search Console specifically.
Install a cookie consent plugin like CookieYes or Complianz. These tools show a banner asking visitors to accept cookies before Analytics starts tracking.
GA4 has built-in consent mode. When properly configured, it respects user choices and only collects limited data from users who decline cookies.
This might seem like overkill for a new blog with 10 daily visitors. But ad networks and affiliate programs check for proper privacy policies. Setting this up now prevents rejection later.
Using Data to Improve Your Content Strategy
Three months after launch, you’ll have enough data to make informed decisions.
Look at your top 10 pages in Analytics. What do they have in common?
- Word count: Are longer posts (2000+ words) outperforming shorter ones?
- Format: Do how-to guides beat opinion posts?
- Media: Do posts with images or videos keep people on the page longer?
- Topic: Is there a specific subtopic within your niche that resonates?
Check Search Console for “impressions without clicks.” These are keywords where you rank well enough to appear in search results, but your title or meta description isn’t compelling enough to earn clicks.
Rewrite those titles and descriptions. A small change can double your click-through rate.
Look for posts ranking in positions 11-20. These are your biggest opportunities. They’re close to page one but need a boost. Update them with:
- Fresh information
- Better examples
- Additional sections answering related questions
- Internal links to newer content
This strategy works better than constantly creating new posts. Improving existing content that already ranks gives you faster results.
If you’re serious about ranking and growing traffic, understanding why your blog posts aren’t ranking helps you avoid common pitfalls.
Preparing for Monetization
Analytics and Search Console data becomes essential when you’re ready to monetize.
Ad networks want proof of consistent traffic. Most require:
- At least 1,000 monthly visitors
- Clean Analytics data showing real human traffic
- Verified Search Console account proving you own the site
Affiliate programs review your traffic sources and audience demographics. Analytics shows:
- Geographic location of your visitors (helpful for location-specific offers)
- Device types (mobile vs desktop affects which products to promote)
- Traffic sources (organic search visitors convert better than social media traffic)
Premium content and course sales require understanding your audience deeply. Use Analytics to see:
- Which posts have the longest session duration (topics people want to learn more about)
- Which pages have the highest exit rates (topics that need better explanations)
- User flow reports (how people navigate through your content)
If you’re thinking about diversifying income streams beyond AdSense, you need this data to make smart decisions about where to invest your time.
Making Analytics and Search Console Part of Your Routine
Check your data weekly, not daily.
Daily checking leads to obsessing over small fluctuations that don’t matter. Traffic naturally varies by day of the week. Monday might bring 50 visitors while Saturday brings 20. That’s normal.
Weekly check-in routine:
- Open Analytics and note total users for the past 7 days
- Check your top 5 posts and see if rankings changed
- Review Search Console for new keywords you’re ranking for
- Look for any coverage errors that need fixing
- Identify one post to update based on performance data
This takes 15 minutes and keeps you informed without becoming a distraction.
Monthly deep analysis:
- Compare month-over-month traffic growth
- Identify seasonal trends
- Review which content types perform best
- Plan next month’s content based on what’s working
Set up custom reports or dashboards in Analytics to make this faster. Save the views you check most often so you don’t waste time navigating menus.
Your Data Foundation Is Set
You now have both tools installed and configured. Every visitor from this point forward gets tracked. Every time Google crawls your site, you’ll see it in Search Console.
This data compounds in value over time. Six months from now, you’ll look back at these first weeks and see exactly how your traffic grew. You’ll know which posts drove that growth and which strategies worked.
Most bloggers set up tracking as an afterthought. You did it right by installing these tools before publishing your first post. That’s the kind of strategic thinking that separates successful bloggers from those who quit after six months.
Now go publish that first post. Your analytics are ready to capture every visitor, every search query, and every insight you need to grow.