
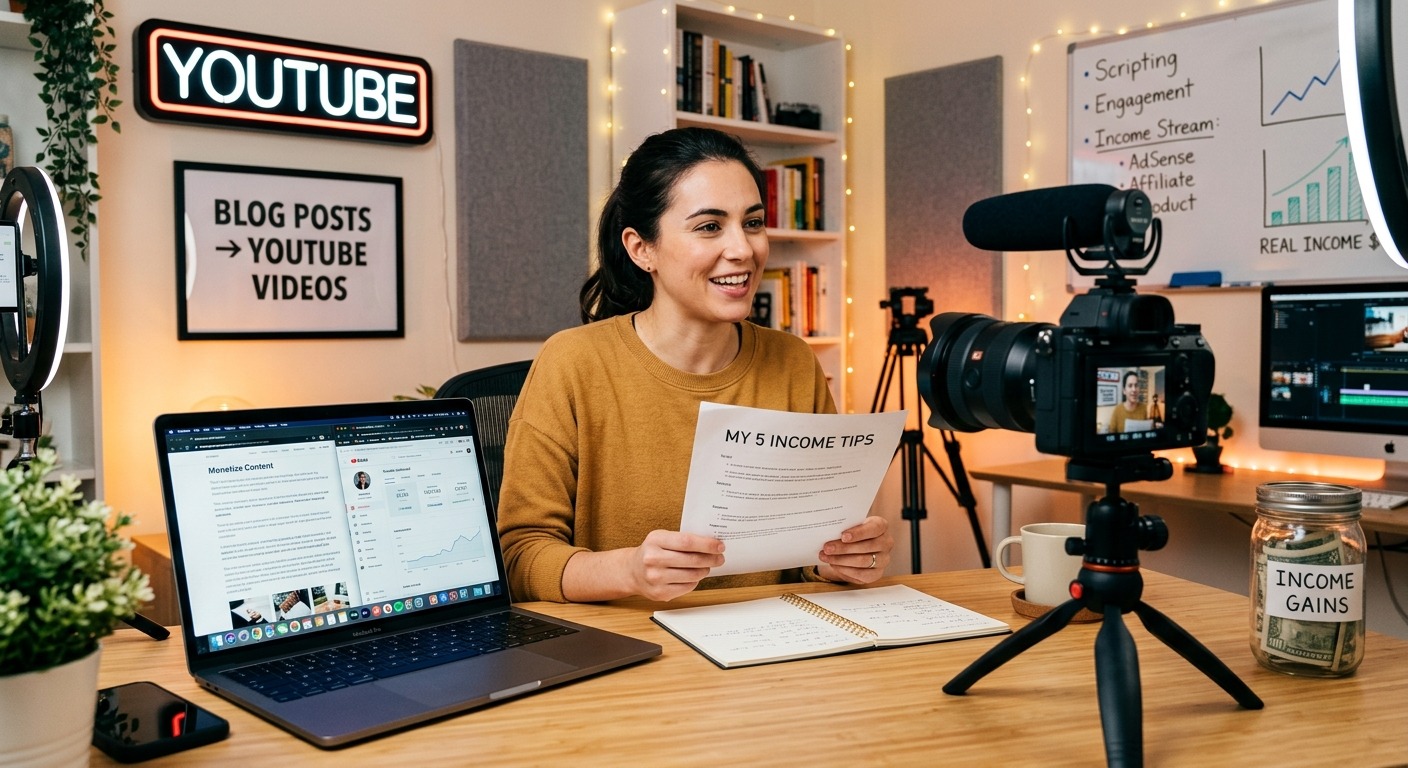
You already have the content. It’s sitting in your blog archive right now, pulling in traffic, maybe earning some AdSense clicks. But every one of those posts is also a video that hasn’t been made yet. And YouTube pays. Not in theory. In practice, bloggers who repurpose written content into video consistently report meaningful jumps in total ad revenue within the first few months on the platform.
This is not about building a second content calendar. It’s about running the same story through a different format and collecting a second check for work you’ve already done.
What You’ll Walk Away With
- A repeatable system for turning blog posts into monetizable YouTube videos
- The exact criteria for choosing which posts to convert first
- A production checklist that treats captions as a non-optional step
- A weekly repurposing schedule that fits your existing content routine
- Why subtitles directly affect your video’s ranking and ad eligibility
Your Blog Archive Is a Video Script Waiting to Happen
Most bloggers assume making YouTube videos means starting from zero. New ideas, new research, new scripts. That assumption is the reason most bloggers never start.
Here’s a different way to look at it. Every well-structured blog post already has a beginning, a middle, and an end. It has a thesis, supporting points, and a call to action. That’s a video script in rough form. The only thing missing is a camera and a voice.
You’re not repurposing content as a shortcut. You’re finding a second audience for something you already know is valuable, because your analytics already told you what resonates.
High-traffic blog posts are pre-validated video topics. If people search for something on Google, they search for it on YouTube too. YouTube is the second-largest search engine in the world, and the overlap with Google search intent is significant. A post earning organic traffic is a strong signal the topic has video demand.
Choosing the Right Posts to Convert First
Not every post translates to video with the same return on effort. Some posts are dense with data that doesn’t work visually. Others are naturally conversational and almost script themselves.
Use these criteria to build your first conversion list:
- Top-traffic posts with strong dwell time , if readers stay on the page, viewers will likely watch the video
- How-to and tutorial content , the step-by-step structure translates directly to video format
- Posts with high affiliate click rates , a video version gives you a second conversion opportunity
- Evergreen content , avoid posts tied to a specific date or news cycle, since your video needs to age well
- Posts with a strong opening paragraph , if the introduction hooks a reader on the page, spoken aloud it will hook a viewer
Start with three to five posts that check most of these boxes. That’s your pilot batch. Get those videos made, uploaded, and earning before you scale the process.
The Blog-to-Video Production Workflow
Turning a post into a video doesn’t have to take days. With a clear process, a 1,500-word post can become a publish-ready video in an afternoon. Here’s the workflow that keeps it manageable:
- Trim the post to a script. Take the core 60 to 70 percent of the post. Cut dense data sections, long lists, and anything that only works in writing. Read it aloud and remove anything that sounds awkward spoken. Aim for a 6 to 10-minute video at a conversational pace.
- Write a hook for the first 30 seconds. YouTube viewers decide fast. Open with the specific outcome they’ll get from watching, not a slow build. Pull a strong line from your post introduction and lead with it.
- Record using your phone or a basic webcam. Audio clarity matters more than visual production quality. Use a lapel mic or record in a quiet room. A blurred or plain background works fine.
- Edit for pacing. Cut silences, long pauses, and any sections that run more than 90 seconds without a visual change or cut. Free tools like DaVinci Resolve handle this without cost.
- Add captions. This step is covered in detail below and is not optional.
- Write the description from your blog post’s meta description. Your post already has an SEO-optimized summary. Adapt it as the YouTube description and include your main keyword in the first two sentences.
- Set an end screen and cards. Point viewers to related videos or your blog. This builds watch time, which feeds the algorithm and increases ad impressions.
Why Captions Are a Required Step, Not a Nice-to-Have
Adding subtitles to your video does three things that directly affect your income potential on YouTube.
First, YouTube’s algorithm indexes the text in your captions. Every word you speak becomes a searchable data point. A video without captions is a video the algorithm reads only through its title and description. A video with accurate captions is a video the algorithm reads in full. For ranking on specific keyword searches, that gap is meaningful.
Second, captions increase average view duration. Viewers watching in noisy environments, public spaces, or non-English-speaking households watch longer when captions are on. Longer average watch time feeds directly into how often YouTube recommends your video, which feeds into ad impressions, which feeds into revenue.
Third, accessibility standards are increasingly tied to platform quality signals. The Web Content Accessibility Guidelines maintained by the W3C define the accessible media standards that platforms reference when evaluating content quality. Channels that meet these thresholds consistently get better ad placement treatment.
The most efficient way to handle this is to generate subtitles from your video file before uploading. Uploading a pre-made subtitle file is more accurate than relying on YouTube’s auto-generated captions alone, and it gives you direct control over the text the algorithm indexes. That control matters for ranking.
Don’t skip this step. It adds a few minutes to the workflow and delivers one of the highest returns of any action you take during production.
A Weekly Repurposing Schedule That Actually Works
The goal here is not to overhaul your content routine. It’s to attach a video workflow to what you’re already doing. Here’s a simple weekly rhythm that turns one published blog post into a monetizable video without burning out:
- Monday: Select a post from your archive using the criteria above. Trim it to a video script and write the opening hook.
- Tuesday: Record. One take, rough edit, done. Aim for completion over perfection on the first pass.
- Wednesday: Edit for pacing, add captions, write the YouTube description and tags based on your post’s SEO keywords.
- Thursday: Upload as unlisted. Review the captions for accuracy. Set the thumbnail, end screen, and cards.
- Friday: Publish. Embed the video in your original blog post to keep readers on your site longer and cross-promote both properties.
One post per week becomes four videos per month. At the standard 1,000-subscriber and 4,000-watch-hour threshold for YouTube Partner Program eligibility, a consistent schedule built from existing blog content gets you there faster than starting a channel from scratch with original-only content.
You’re also building a habit, not a project. Projects have an end date. Habits compound.
What Happens When Both Revenue Streams Run Simultaneously
Once your YouTube channel hits the monetization threshold, you’re earning ad revenue from two platforms for content you created once. Your blog earns when someone reads. Your video earns when someone watches. The same keyword, the same idea, the same research, two income lines.
Affiliate links extend this further. A product you recommend in a blog post goes into the video description too. Viewers who click buy from the same link, layering affiliate income on top of the video’s ad revenue. One piece of content, multiple conversion paths.
Repurposing also builds your authority over time. A blogger who appears in both Google and YouTube results for the same topic creates a stronger impression of expertise than one who appears in only one place. That credibility translates into higher click-through rates, better sponsored post rates, and more trust from affiliate partners.
None of this requires a production studio or a large team. It requires a system. The workflow above is that system. Run it once a week for 90 days and you’ll have the data to decide whether to scale.
Two Revenue Streams, One Content Calendar
You don’t need new ideas. You need a new format for the ideas you already have. Your archive holds dozens of posts that readers found valuable enough to click, read, and share. That value doesn’t disappear when you point a camera at it.
The workflow covered here is designed to be low-friction and repeatable. One post, one week, one video. Done consistently, it builds a second income stream on a platform that pays advertiser money directly to creators every single month. The blog keeps earning. The videos start earning. And you spent the week producing exactly as much content as you always do.
Start with one post. Pick the one already getting the most traffic. Trim it, record it, caption it, and upload it. That’s the whole first step. Everything else follows from there.